Have you ever wanted to record your guitar? Were you putting it off because it seemed too difficult or daunting?
Recording yourself is a ton of fun and can be super helpful when practicing and learning new skills. On top of that, you can record yourself to share your music with your friends, family, and eventually fans.
Any musician can record from home.
All you need is a few pieces of gear and software and you’ll be on your way to making hits.
What You'll Need
There are only a few pieces of gear you’ll need to record your guitar.
Guitar
The first is obvious: your guitar! I’ll be going over what you’ll need for an electric guitar or an acoustic guitar so either one will work. Make sure you have guitar cables if you’ll be recording an electric guitar.
Computer
After that, you’ll need a computer. Nowadays most computers will work just fine. No need to get a crazy souped-up one for recording.
Just be sure it’s in decent working condition and has USB ports.
Audio Interface
An audio interface is a device that you plug into your computer to send audio through. You will plug either your guitar or your microphone (more on this in a bit) into this little box and it will convert the sound and send it to your computer.
A great option if you’re just getting into recording is the Focusrite 2i2.
Microphone
If you plan on recording an acoustic guitar or a physical guitar amp, you’ll need a microphone.
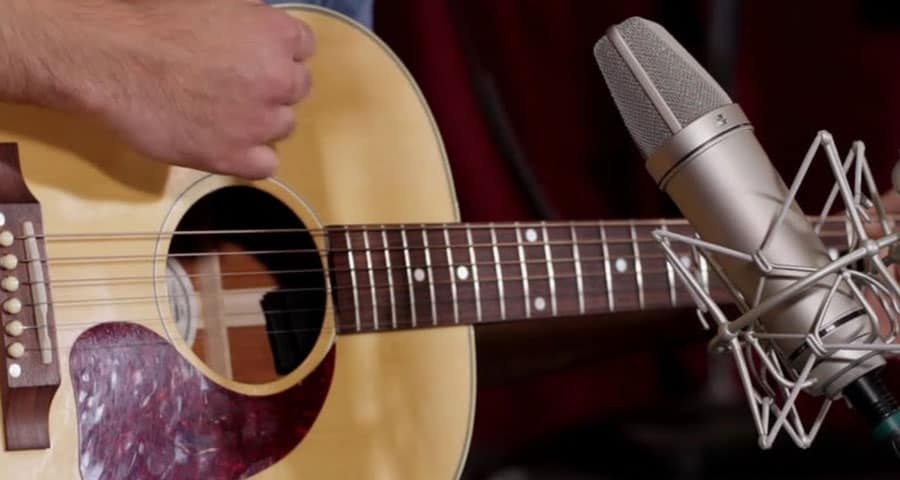
For acoustic guitars, you’ll want to buy a large diaphragm condenser. These mics are known for their broad sound and pleasing high-end.
There are a lot of different large-diaphragm microphones on the market in a range of price points. Do some research and see what fits your budget. If you spend ~$200 or more, you’ll be just fine!
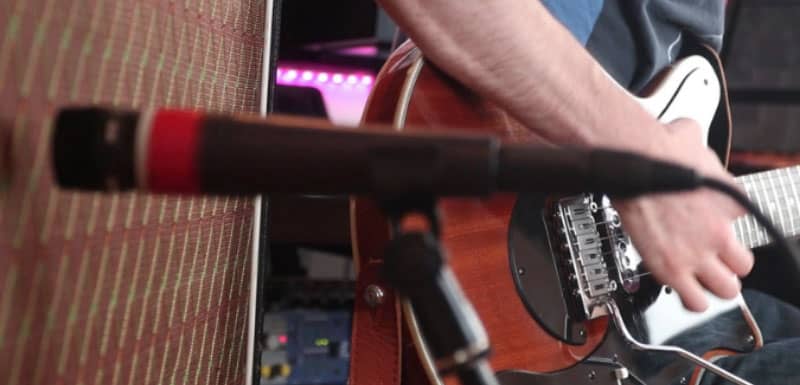
For electric guitar amps, you’ll want a dynamic microphone. These mics typically have a punchy mid-range sound and can handle very loud sound sources (like an amp).
The mic most often used for this is a Shure SM-57. They are very affordable and are as tough as nails.
If you want to learn more about the different types of microphones and their best uses, check out this article.
Software
DAW
You’ll need to record your audio in a computer program called a Digital Audio Workstation or DAW for short.
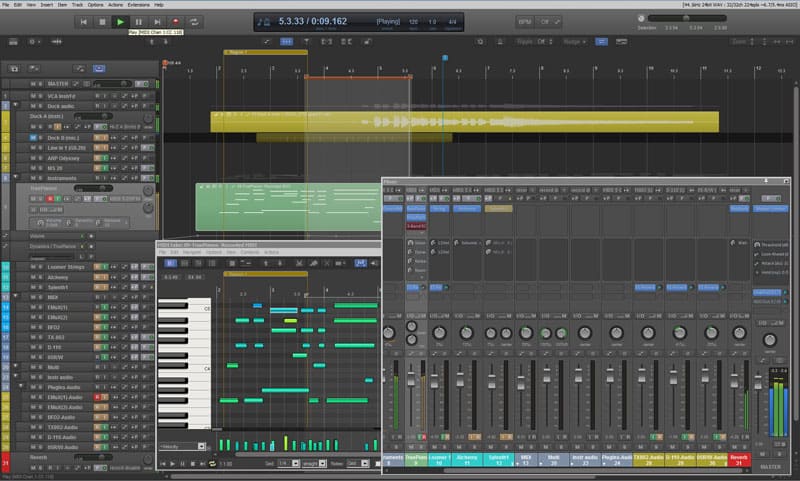
There are a TON of different programs out there for recording and they all do things a bit differently.
For now, focus on finding something that is inexpensive and easy to use.
If you use a Mac, your computer already has a DAW available called Garageband. This is a great piece of software to learn in and is super easy to use.
For Windows users, you’ll have to find a third-party piece of software. Reaper is a great one to look into first, but do a quick google search and see what’s available for your system at different price points.
Amp Simulators
If you want to record electric guitar, you have two options.
You can record your guitar amp directly as we spoke about above. If this is your preferred method, you can skip this section!
Or you can use an amp sim.
Amp simulators are pieces of software called plugins that work inside your DAW to recreate amp tones digitally.
You plug your guitar directly into your interface and all of the amp tones are created from within your software.
If you want to record electric guitar, but don’t want all of the noise this is a great option. It’s also a good option if you want a variety of amp sounds.
There are a ton of different plugins out there that we couldn’t possibly go over in this section. If this method seems interesting to you, read this article for even more info.
Accessories
The last few accessories you’ll need are a microphone cable, a mic stand, and some headphones.
Make sure you get a microphone cable that is long enough for your setup.
There are a variety of different microphone stand styles. A boom-style stand is usually the most versatile.
For the cable and stand, look at reviews on Amazon and don’t spend too little or too much. Look at what the average price is and go for that.
If you have a pair of headphones that you already use, those will work great to start off. If not, you’ll want a pair of mixing headphones.
Let's Record!
The recording technique for recording electric and acoustic is slightly different so skip down to the section for the instrument you’ll be recording.
Electric Guitar
Guitar Amp
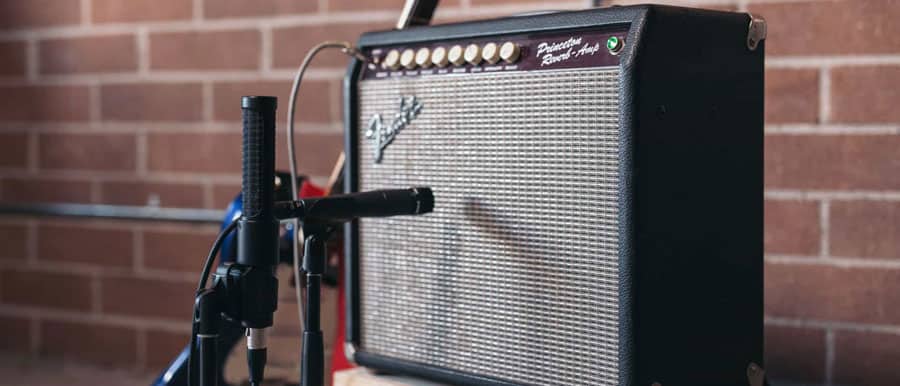
First, set up your guitar and guitar amp like normal. Dial-in a tone that sounds good to you.
Next, set your microphone on its stand. There are a million ways to point the microphone at a guitar amp, but we’ll start off with a basic one. If you can see the speaker cone in your amp, aim the microphone right where the center of the speaker meets the speaker cone.
If you are having trouble seeing the speaker behind the grill, turn all the lights off and use a flashlight to see into the cab.
Once you’ve placed the microphone, plug the microphone cable into the mic and the audio interface.
Make sure your audio interface is plugged into your computer. Then, using your preferred DAW, set up a track for recording by choosing the correct input. Set the gain on your audio interface.
Once you have set all this up, start recording and playing. You’ve got your first recording!
Amp Simulator
Make sure your audio interface is plugged into your computer. Then, using your preferred DAW, set up a track for recording.
Plug your guitar cable directly into your audio interface. Choose the correct input in your DAW.
Then, open up the guitar simulator plugin on the track your guitar is set to. Dial-in a tone.
Once you’re ready you can begin recording.
Acoustic Guitar
Get in a comfortable place to play your guitar and be sure to take off any watches or bracelets that could make noise in your recording.
Put your microphone on its stand and point it towards the guitar. There are a ton of ways to mic a guitar, but we’ll start with a basic one. Point the microphone right at the 12th fret. This will give you a good blend between the string noise and the full body of the guitar.
Now, plug your microphone into your interface. Be sure your interface is connected to your computer. Create a track in your DAW and select the appropriate input to get a signal from your guitar.
Set your level on your audio interface and you’re ready to go!
Conclusion
There it is! A simple guide to get you up and running and recording your guitar. Being able to record yourself is a great skill to have for your practice and to share your music.
We only covered the absolute basics here so be sure to check out our site if you want to take a deep dive into learning how to record at home.
Enjoy and happy recording!